Home 2 Factor Authentication Intro Article
How to Enable Two-Factor Authentication (2FA) for Your Account
Posted on 2025-01-01 Updated on 2025-01-01In today’s world, online security is paramount. One of the most effective ways to protect your account is by enabling two-factor authentication (2FA). This article will guide you step-by-step on how to set up 2FA using Google Authenticator or a similar app, ensuring your account stays secure.
Step 1: Navigate to Account Settings
To begin the process, you need to access the settings page of your account. This can usually be done by clicking on the Settings icon in the navigation bar or by selecting Profile Settings from your account options.

In the first step, you will need to click on the settings option either from the navigation bar or your profile menu.
Step 2: Locate the Two-Factor Authentication Option
Once you are on the account settings page, you need to scroll down a little. As you scroll, you will find the option for Two-Factor Authentication. Next to this option, you will see a button that says Enable Two-Factor.
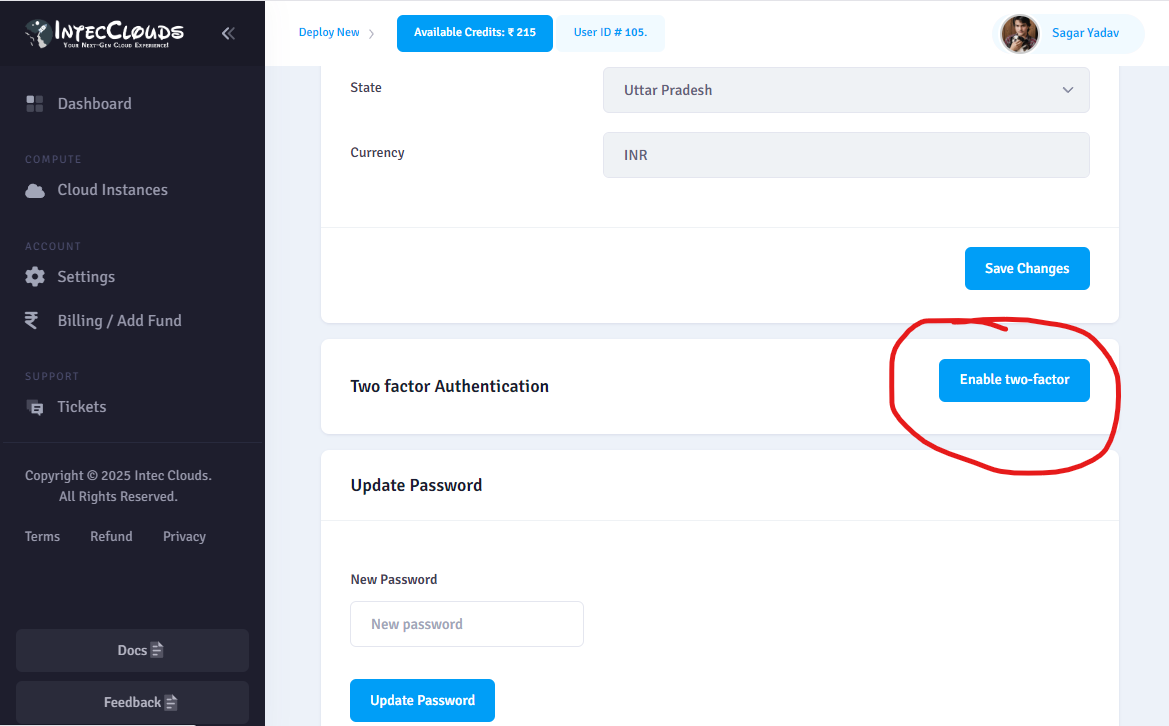
This step shows you the Two-Factor Authentication option. Click the Enable Two-Factor button to proceed.
Step 3: Scan the QR Code and Enter the Code
After clicking Enable Two-Factor, a new page will open with a QR code and an input section. At this point, you need to open your authentication app (Google Authenticator or Duo Mobile).
- Open the app and select the option to scan the QR code.
- Scan the QR code displayed on the page.
- The app will generate a 6-digit code that will be visible on your screen.
- Enter this 6-digit code in the input section provided on the page.
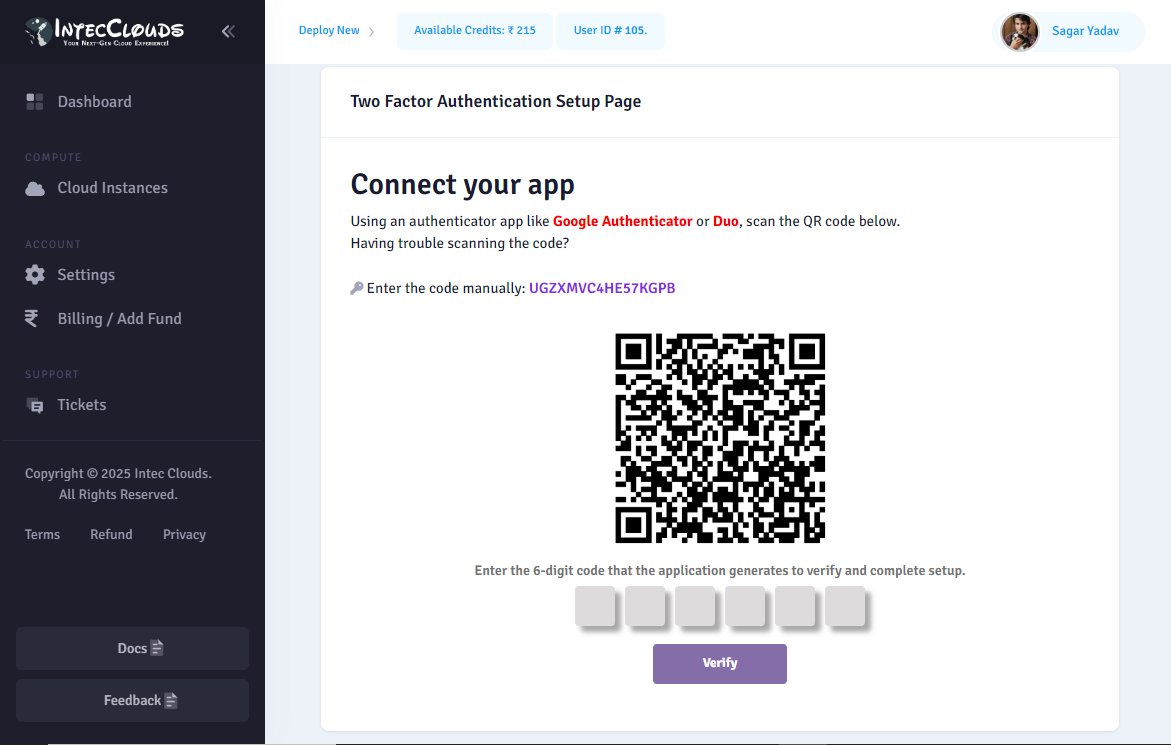
The final step involves scanning the QR code and entering the 6-digit code generated by your app. Once entered, click the Verify button to activate two-factor authentication.
After clicking Verify, 2FA will be successfully enabled for your account, providing an additional layer of security.
Found this article helpful?
[ 1 Out of 1 Found Helpful ]
